
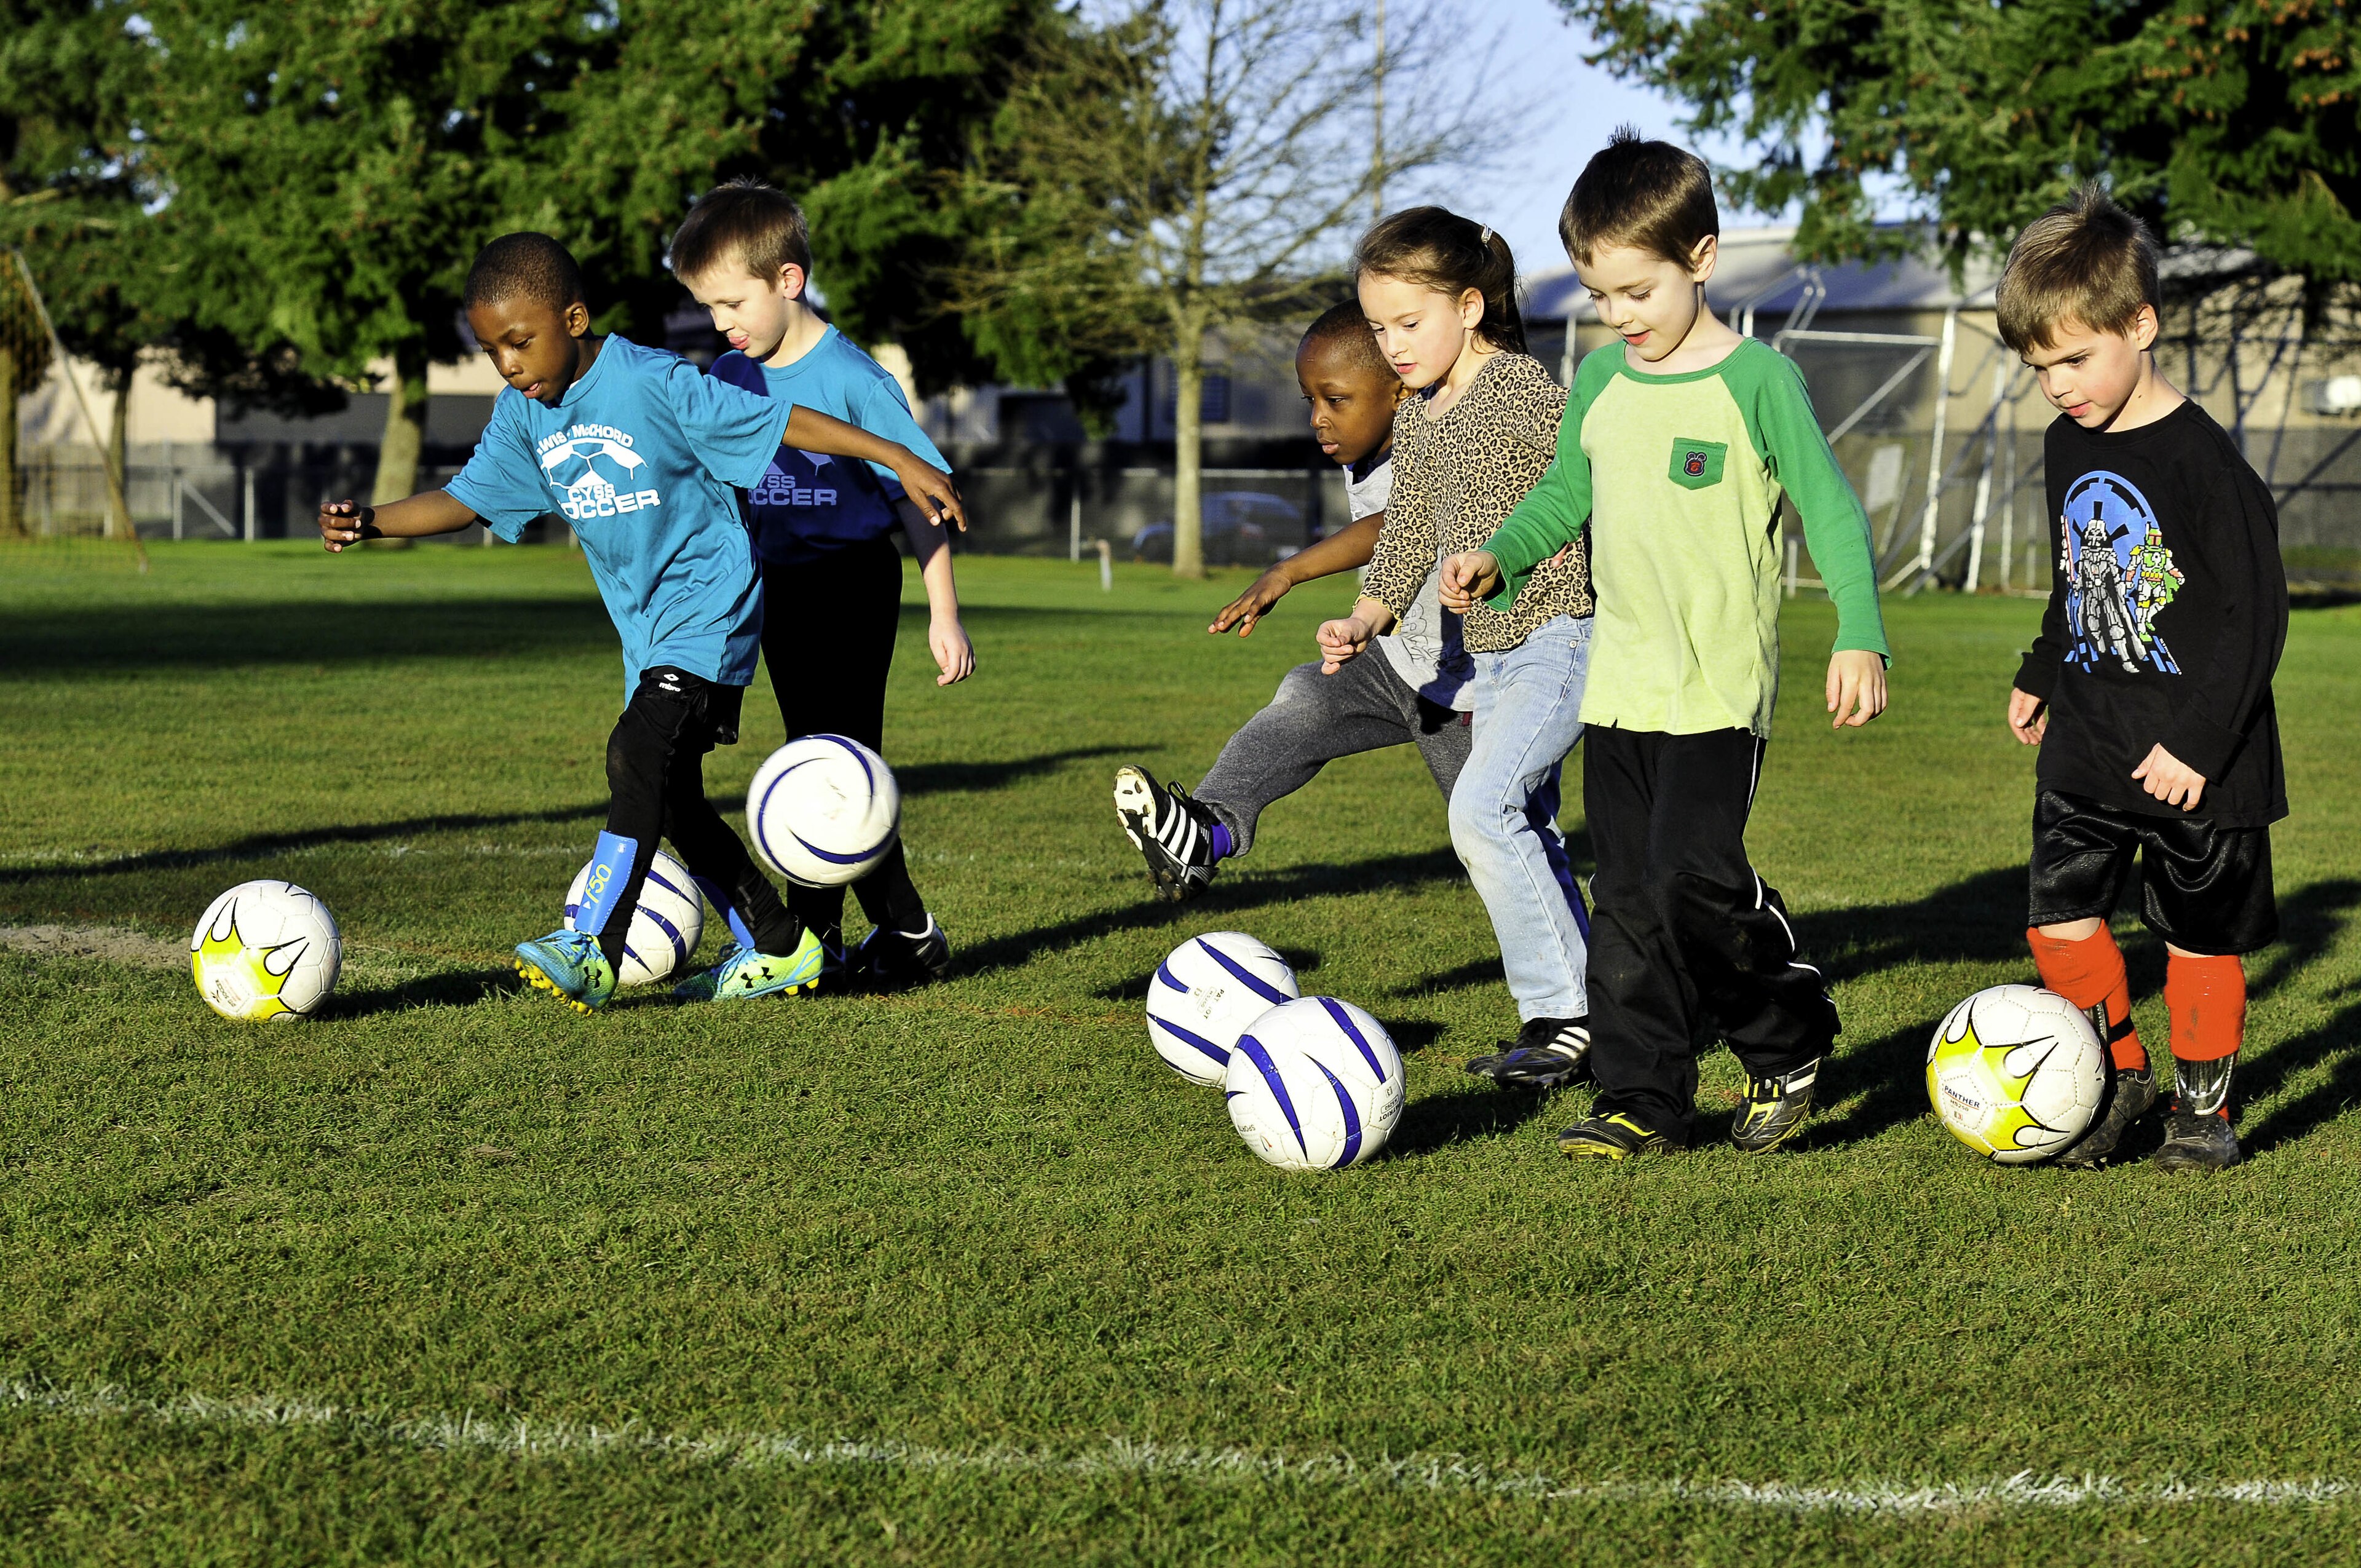

Why A Gate Helps Before A Coach Says More
A wide gate makes the result easy for a child to read. The ball went through, pulled left, rolled right, or arrived too hard to control. That visible answer matters because the adult does not have to judge every pass aloud. The child can notice the miss, reset the ball, and try one useful change. Over time, that turns accuracy into a problem they can solve rather than a verdict on whether they are good at passing.
Careful Supervision Protects Confidence And The Practice Space
An adult still has an important job. Check the surface and run-off area, keep the gate wide enough for the child's current control, and stop returns that arrive before the receiver is ready. Watch the mood as well as the ball. If misses produce harder kicks, a longer run-up, or visible frustration, move closer or widen the target. Changing the task is often more helpful than repeating the same correction more loudly.
Start three metres from a wide gate. Both feet are visible: the non-kicking foot points through the target before the pass.
Two details to check
Use these views to check the contact and the partner setup before making the gate smaller or moving farther away.
Place the non-kicking foot beside the ball and point it through the gate. Use a firm ankle and the inside of the other foot.
One player stands on each side. Pass through the gate, let the receiver set their feet, then return the ball through the same target.
Setup
Place two flat markers roughly one metre apart to make a wide gate. Put the ball about three metres away, with another two metres of clear space behind the gate for a pass that runs long. Walk the full lane before starting and turn the setup if a miss could reach a road, glass, steps, parked cars, other groups, or people crossing the area. For a pair, place one player on each side. For solo practice, the child passes through, walks around the gate to collect the ball, and resets from the other side.
Choose The First Problem You Can Actually See
If passes miss to the same side, keep the distance and check where the standing foot points. If they travel straight but too hard, move closer and ask for a pass the receiver can stop within one step. If the receiver keeps chasing sideways, widen the gate and allow a settling touch. Change one condition at a time so the child can connect the adjustment to the result.
Use A Short, Standard, Or Extended Route
For a short version, use the comfortable foot and finish after six calm passes through a wide gate. For a standard version, add the weaker foot and a receive-reset-return phase. For an extended version, add a second coloured gate or a passive defender only after the original pass stays controllable. These are routes through the same drill, not three separate tests that must all be completed.
Make The Return Pass Part Of The Skill
With a partner, the receiver should have enough time to move into line, cushion the ball, and look through the gate before returning it. A rushed return teaches both players to chase. Ask the passer to wait until the receiver has reset both feet. For a group, use pairs or threes at separate gates instead of one long queue.
Give One Cue, Then Let The Ball Answer
Use one cue before the repetition: point the standing foot through the gate, pass for your partner to control, or look through the target before contact. After the pass, ask what the child noticed. Avoid stacking ankle, hip, head, follow-through, and power instructions into the same attempt.
Steps
- Walk the lane without a ball. Check that both players can stop safely and that an overhit pass will finish in clear space.
- Start from about three metres with the more comfortable foot. Send six calm ground passes through the wide gate, resetting the ball and both feet before each attempt.
- Use the weaker foot for four passes from the same spot. Move closer or widen the gate if the child needs a bigger swing to reach it.
- For a pair, pass through the gate, allow one controlling touch, then return through the same target. Solo players pass through, walk around, collect, and start from the other side.
- Add one choice only. Use a second coloured gate, call the target after the first touch, or ask the receiver to move into line before returning the ball.
- Finish with a sequence the child can own: three controllable passes in a row, one with each foot and one chosen freely. Stop while the contact still looks calm.
Coaching points
- Look through the gate before the final step so the target is clear before contact.
- Place the non-kicking foot beside the ball and point it through the gate.
- Keep the ankle firm and use the inside of the foot for a smooth pass through the middle of the ball.
- Ask for enough weight to reach the receiver or run-off area, not the hardest possible kick.
- After a pair pass, move into line with the return instead of waiting flat-footed.
- Praise the useful adjustment, such as moving closer or softening the pass, rather than praising only a perfect result.
Common mistakes
- The run-up becomes long, so the final step lands across the ball and the pass pulls wide.
- The child watches the ball from the first step and never checks the gate.
- The gate gets narrower at the same time as the distance increases.
- A partner fires the return pass back before the receiver has reset their feet.
- The adult corrects every miss instead of changing the distance or gate width.
Make it easier
Move to two metres, widen the gate to about two adult steps, and stop the ball before every pass. A rolled feed from an adult can remove the need to collect a loose ball while the child learns the standing-foot position.
Make it harder
Add a second coloured gate and call the target after the child receives the ball. For a pair, receive to one side of the gate and pass back through the other. Keep the distance unchanged while adding the decision.
How to know it is working
The drill is working when the child can glance at the gate, place the standing foot, and send a controllable pass through without a long run-up. With a partner, the receiver should be able to stay in the lane rather than chase the ball sideways.
Safety
Use flat, soft markers and a dry, level surface. Keep the run-off area away from roads, windows, parked cars, other groups, and anyone walking across the practice. Do not use glass bottles or heavy objects as gates.
Common questions
How wide should a passing gate be for a beginner?
Start at roughly one metre, or about two adult steps, for a child passing from three metres away. Widen it if misses cause harder kicking. Narrow it only when the same distance feels calm.
Can one child do the gate passing drill alone?
Yes. Pass through the gate, walk around it to collect the ball, and make the next pass from the opposite side. Two angled gates reduce the repeated walk and add a simple target choice.
Should children use both feet for gate passing?
Yes, but keep the weaker-foot round easier. Use the same wide gate and shorten the distance rather than asking the child to force the pass.
What if every pass goes through but the receiver cannot control it?
The direction is good, but the weight is too strong for the current distance. Move the players closer and ask for a pass that can be stopped within one step. Count a pass only when it reaches the receiver under control.
How can a volunteer coach run this with a group?
Use several wide gates with pairs or groups of three. One player passes, one receives, and the third retrieves only when needed. Rotate after a short sequence so nobody waits in a long line.