
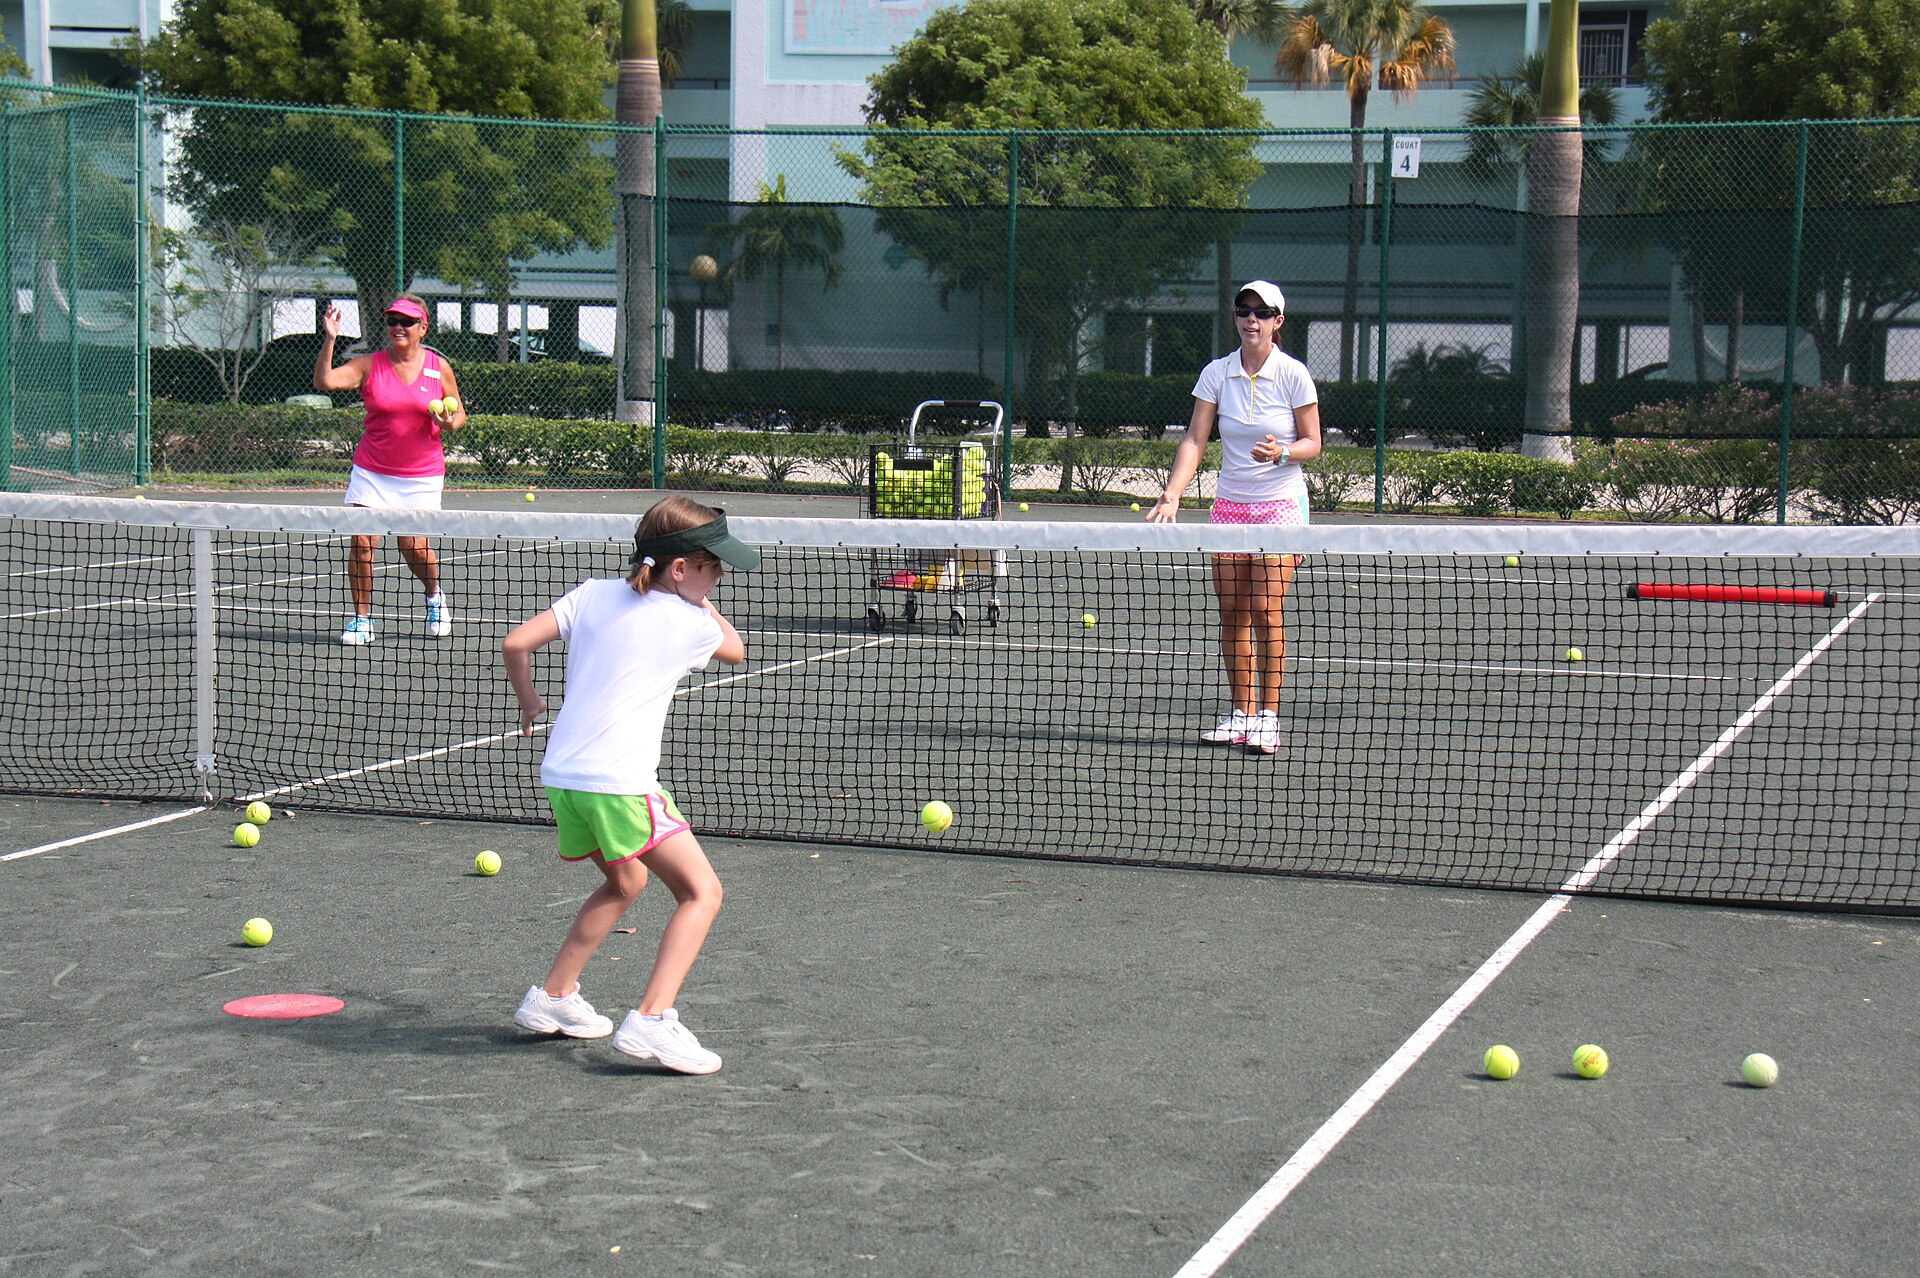

Control Comes Before A Rally
A first tennis rally can disappear before it begins. The ball slips off the racket, the child swings harder to compensate, and the next attempt travels even farther. That does not automatically mean the child needs a longer technical explanation. Often the first useful job is smaller: keep the racket face steady long enough to feel where the ball goes. This routine starts there, then adds one tap and one gentle send. The net and continuous rally can wait.
Slow The Equipment Down Before Correcting The Child
A standard yellow ball can arrive too quickly and bounce too high for a young beginner to organise their feet and racket. The ITF's Tennis10s pathway uses slower red, orange, and green balls on suitable court sizes, and the LTA presents ball and racket sizes as starting guidance rather than a rule for every child. For this practice, choose the slower ball and racket the child can control safely. Moving to faster equipment is not the success measure.
What Ball Control Means In This Practice
Ball control here has three observable parts. The child can hold the racket face without chasing the ball, make a small tap that stays below eye height, and drop the ball in front of the racket side before a short send. None of those jobs requires a hard swing. The adult watches the ball path, the feet, and the clear space around the racket, changing one demand at a time when control disappears.
Run This 10-Minute Stop, Tap, And Send Routine
Keep one ball active and collect it before the next repetition. The child gets time to feel the racket angle before aiming at a target; this is a control circuit, not a test of how many touches they can rush through.
Set up before the first ball
Mark a dry, level box about four adult paces long and three paces wide. Put a wide two-marker gate at one short end. The child starts near the middle with enough clear room for the racket to travel in front and to the side. Use one junior racket the child can hold without dragging and one red, foam, or other slower ball suited to their current control. The adult stands outside the swing area and retrieves only after the racket is still.
Run the routine
Balance, tilt, and stop
Hold the racket face level in front with both feet balanced. Place the ball near the racket throat, let it roll a short distance toward the tip, then make a small tilt back and stop it near the centre. Freeze for two seconds. Try five stops in each direction. If the ball falls twice in a row, shorten the roll to the width of the strings.
Roll the ball slowly across the level strings, stop it near the centre, and freeze. The contact circle marks the usable racket-face area; both feet stay balanced.
One tap, one bounce, one catch
Start with the ball resting on the strings. Make one small upward tap below eye height, let the ball bounce once on the ground, then catch it with the free hand. Reset the feet before the next turn. Count six taps that land inside the marked box. A catch is helpful, but the ball landing in the box is the main control check.
Keep the racket face in front, make one small tap, then catch. Both feet stay planted while the ball rises below eye height.
Drop, bounce, and send
Stand two adult paces from the wide gate. Drop the ball slightly in front of the racket side, allow one ground bounce, and use a short forward swing to send it toward the gate below waist height. Reset after every ball. Try six sends and count those that stay inside the marked lane, whether or not they pass through the gate.
Drop the ball in front of the racket side, let it bounce once, and use a short send through the wide gate. The marked circle shows the contact area.
What success looks like
- The ball can stop near the middle of the strings without the child stepping after it.
- A single tap rises below eye height and lands inside the marked box.
- The self-feed bounces in front of the racket-side foot rather than behind both feet.
- The send stays below waist height and inside the clear lane more often than it escapes.
Make it easier
Begin with a beanbag or foam ball on the strings, remove the tap, or let the child catch before the ground bounce. For the send, move one pace closer and make the gate wider. Change only one part, then give the child several repetitions before changing it again.
Make it harder
Keep the same slower ball and choose one progression: make two taps before the catch, alternate the racket face up and down between catches, or narrow the sending gate by one marker width. Do not combine a faster ball, smaller target, and longer distance in the same round.
Safety check
Clear every loose ball before restarting. Keep other children and adults at least one racket length plus an adult step from the hitter, including behind and beside the swing. Use flat markers, check for water, grit, glass, roads, parked cars, and occupied paths, and stop for pain, dizziness, distress, or repeated loss of racket control.
Choose The First Change From What You See
| What happens | Start with | Change one thing |
|---|---|---|
| The ball rolls straight off the strings | Balance, tilt, and stop | Shorten the roll and keep the racket closer to the body. |
| The tap shoots above the child's head | One tap, one bounce, one catch | Use less lift and begin with a foam or red ball. |
| The child walks after every tap | One tap, one bounce, one catch | Widen the floor box and count only taps that land inside it. |
| The self-feed drops behind the feet | Drop, bounce, and send | Release lower and slightly farther in front of the racket-side foot. |
| The send flies beyond the gate | Drop, bounce, and send | Move closer and shorten the finish before changing the target. |
Read The Racket Face, Not Just The Result
The ball usually leaves in the direction the strings are facing at contact. If it climbs sharply, the face may be too open or the swing may be lifting. If it drops immediately, the face may be too closed. Let the child see the starting angle, make one small adjustment, and try again. Avoid changing grip, stance, target, and swing in the same turn.
Use Adult Feeds Only After The Self-Feed Settles
An adult feed adds timing as well as ball control. Wait until the child can drop the ball in front and make several sends inside the lane. Then feed from close range with the same underarm path and bounce point each time. The adult's first job is consistency, not disguise or pace.
Stop Before Control Turns Into Chasing
End a block when the child is swinging while loose balls remain nearby, stepping into the adult's space, or hitting harder after every miss. Collect the ball, widen the task, or finish for the day. A short round with a clear reset is more useful than completing the clock after safe racket control has gone.
Where To Go Next
Use the broader tennis drill library when the child is ready to choose a target and recover after a return. Use the tennis beginner hub when you want the full 15-minute route from tap-and-catch to a cooperative feed. This page should remain the smaller ball-control step, not a second version of either routine.
Key pages
Tennis
Tennis for kids and beginners works best when the ball is slow enough to control. Use one racket, a small marked space, and this first session before attempting a full-court rally.
Tennis Drills for Kids: A 12-Minute Starter Routine
Use these tennis drills for kids to build racket control, direct a self-fed ball, and recover after a return. The 12-minute routine needs one racket, one slower ball, an adult feeder, and a small marked space.
Drop-Feed Forehand Drill for Kids: Contact in Front
This drop-feed forehand drill for kids gives the player control of the start. They drop a slower ball on the forehand side, meet it in front, send it through a wide gate, and recover before the next repetition.
Riley Mercer
Riley Mercer writes beginner tennis pages that help parents and volunteer leaders turn one racket, a slower ball, and a small clear space into a usable first practice.
Editorial Policy
How DrillsPedia researches, writes, checks, updates, and labels drills, sessions, videos, and parent guidance.
Common questions
What is a good first tennis ball control drill for a child?
Place a slower ball on a level racket face, roll it a short distance, and stop it near the middle of the strings. It removes the bounce and target so the child can first feel how a small racket-angle change moves the ball.
Which tennis ball should a beginner child use?
Use a slower ball the child can control. ITF Tennis10s uses red, orange, and green stages for players aged 10 and under. The LTA lists age-based starting points but notes that equipment sizing is guidance, so choose the manageable option for informal practice.
Can these tennis ball control drills be done without a court?
Yes. Use a dry, level marked box with a safe run-off area and enough room for the full racket swing. Do not aim toward glass, traffic, parked cars, or people using the space.
How high should a beginner tap the tennis ball?
For this routine, keep a single tap below eye height. If the child has to chase it or loses sight of nearby people, reduce the lift or return to balancing the ball on the strings.
When is a child ready to move from ball control to rallying?
Try a gentle adult feed when the child can prepare the racket, meet a self-fed ball in front, and send it inside the marked lane several times without rushing. Keep the first exchange cooperative and let the adult catch rather than forcing a continuous rally.